





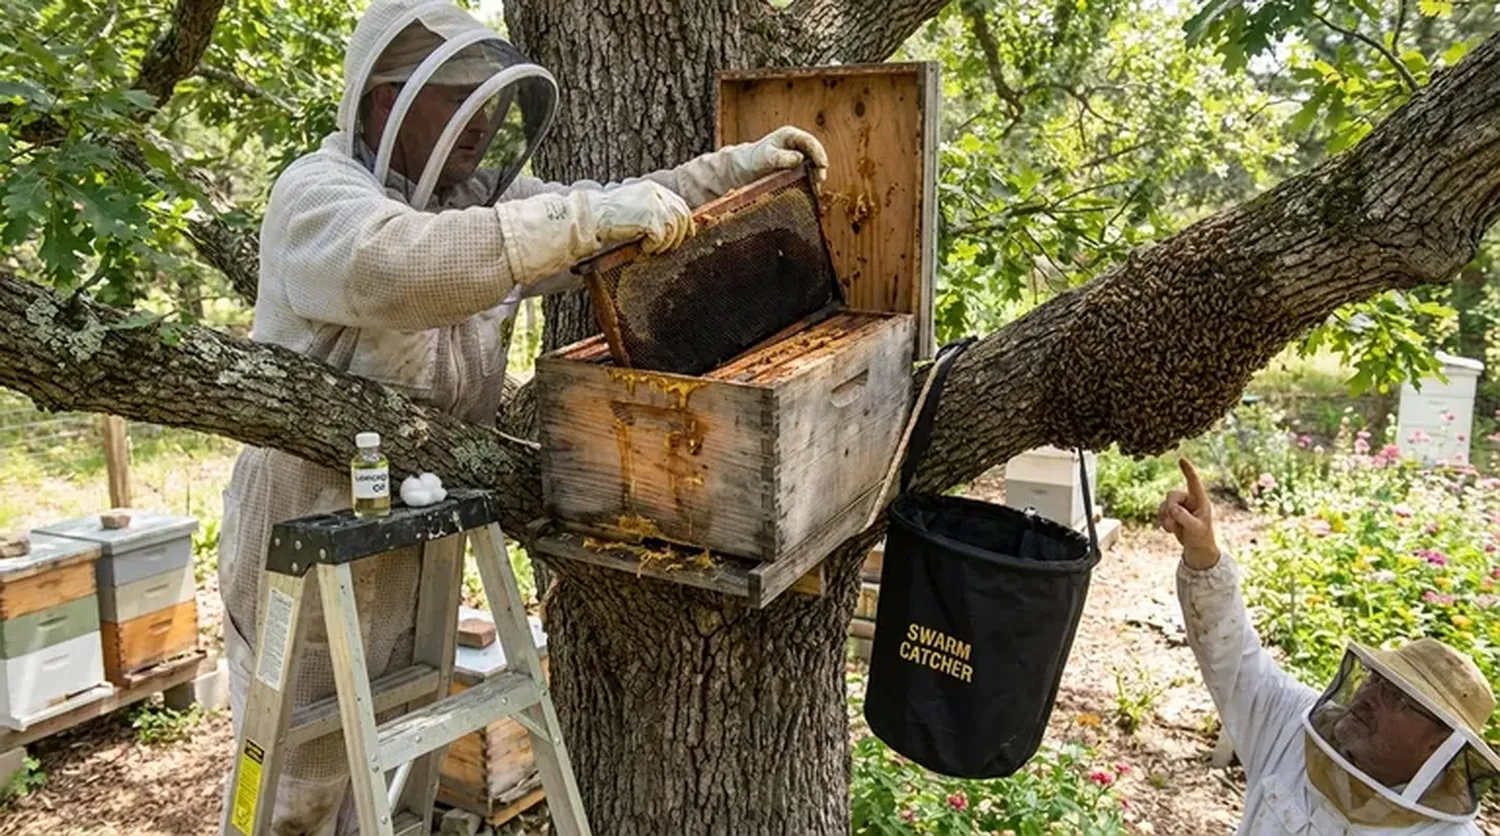
Starting your journey into backyard beekeeping is incredibly rewarding, but figuring out exactly how to set up a honey bee hive for beginners can feel overwhelming at first glance. Setting up a stable home for a new colony requires carefully balancing environmental placement, precise assembly, and basic safety protocols. This guide gives you a field-tested path to configure a high-yielding, safe apiary right on your property.
Just like learning how to raise chickens for eggs in the backyard, backyard apiaries require proper planning and structural care. By managing your property layout correctly and investing in standardized gear, you ensure your honey bees thrive through cold snaps and hot summer months alike.
1. Essential Beekeeping Gear and Costs
Before you purchase package bees, you need to acquire standard, reliable equipment. For beginners, the **Langstroth Hive** is the universal choice due to its modular design and easy inspection process. Trying to build custom sizes often ends in poor honey yields and high frustration.
When setting up, remember that seasonal shifts impact all farm systems; for instance, understanding how to keep farm animals cool in extreme heat is just as important as keeping your hive properly ventilated when temperatures spike. Below is a breakdown of the standard start-up gear costs for a single-hive installation:
| Equipment Item | Purpose | Est. Cost |
|---|---|---|
| Hive Stand | Keeps box off cold, damp ground | $30 - $50 |
| Brood Box (Deep) | Main room where queen lays eggs | $45 - $70 |
| 10 Frames & Foundation | Provides sheets for comb building | $35 - $50 |
| Smoker & Veil Suit | Calms colony & protects the face | $60 - $120 |
2. Selecting the Perfect Hive Location
Where you place your apiary stand directly impacts the health of your queen and worker bees. A poorly positioned box leaves bees exposed to freezing winds or scorching stagnant heat, killing off brood quickly. Keep these strict environmental parameters in mind when scanning your backyard:
- Morning Sun Exposure: Face the main hive entrance Southeast. Early morning sunlight warms the colony up fast, encouraging foragers to start collecting pollen earlier in the day.
- Dry Ground & Windbreaks: Avoid low spots where marshy water pools or fog hangs out. Place your setup near a structural wall or thick fence lines to break harsh northern winter gusts.
- Clear Flight Paths: Bees fly straight out and up. Ensure there is at least 10 feet of clear open space in front of the lower landing board so workers don't collide with household foot traffic.
3. Step-by-Step Hive Assembly Instructions
Once your location is cleared, it is time to stack and level your structural components properly. Precision during assembly prevents moisture build-up and blocks predatory pests from breaking in easily. Follow this sequence carefully to get everything ready for your honey bee shipment:
- Level the Stand: Place your concrete blocks or commercial metal stand flat onto the ground. Make sure the stand tilts slightly forward (about 2 degrees) so rainfall drains outward away from the entrance.
- Set the Bottom Board: Drop your bottom board right on top of the stand. Use a screened bottom board if you live in warm climates to ensure maximum airflow and natural pest control.
- Load the Deep Brood Box: Place the heavy outer deep box onto the baseboard. Slide in your 10 wooden frames, pushing them close together snugly into the center space.
- Attach the Feeder: Place a top box feeder loaded with clean, pure 1:1 sugar syrup over the frames to assist the colony during their first few weeks of building fresh wax combs.
- Seal Covers Tight: Place the inner wooden cover down flat, then fit the heavy telescoping outer sheet-metal cover over the top to lock out wind, neighborhood raccoons, and rain.
Much like learning the delicate steps involved when you how to shear a sheep for the first time, patience and slow, deliberate physical movements make your first physical hive installation straightforward and successful.
4. Introducing Your Bees Safely
When your package bees arrive, do not rush. Put on your protective veil, light up your bee smoker using dry pine needles or burlap canvas, and gently mist the package screen with light sugar water to calm the worker bees down. Pry open the shipping crate lid, remove the small wooden queen cage, and check that she is alive and moving inside.
Hang the queen cage safely down between the third and fourth central frames of your deep brood box using a small piece of wire. Gently shake the remaining bulk package bees out of the shipping crate directly into the open spaces of the box. They will naturally cluster around the queen's pheromones within minutes. Put the lid on safely and leave them completely undisturbed for 5 straight days so they settle without panic.
Keeping young animals and fragile colonies safe requires similar attention to detail; just as you'd carefully monitor health metrics when learning how to take care of a newborn goat kid, checking on your new hive during the first month ensures the colony bonds tightly and stays healthy.
5. Frequently Asked Questions
What is the absolute best month to start a bee hive?
Early spring (April or May in most regions) is the perfect window. This timeline ensures your package bees arrive right as the first major spring flowers bloom, giving them abundant nectar to draw comb.
How often should a beginner inspect the hive boxes?
Once every 7 to 10 days is ideal during spring and summer. Inspecting more often disrupts the temperature inside the box and stresses the queen bee unnecessarily.
Do I need to buy two hives to start out?
Starting with 2 hives is highly recommended by experts because it allows you to compare their growth rates and swap frames of brood if one queen happens to fail or weaken.
Conclusion: Achieve Backyard Apiary Success
Mastering how to set up a honey bee hive for beginners is all about following standard guidelines, positioning the box for morning warmth, and keeping hands steady during initial management. Over time, you can expand your backyard skills into deeper livestock care, such as building a dedicated space like an organized flock setup or discovering how to build a cheap rabbit hutch for alternative homestead yields. Take it one inspection at a time, wear your protective gear consistently, and enjoy watching your new colony build its first sustainable honey store!
For additional regulatory guidelines, maps of municipal apiary zones, and structural safety codes, consult the official United States Department of Agriculture (USDA) resource page.