





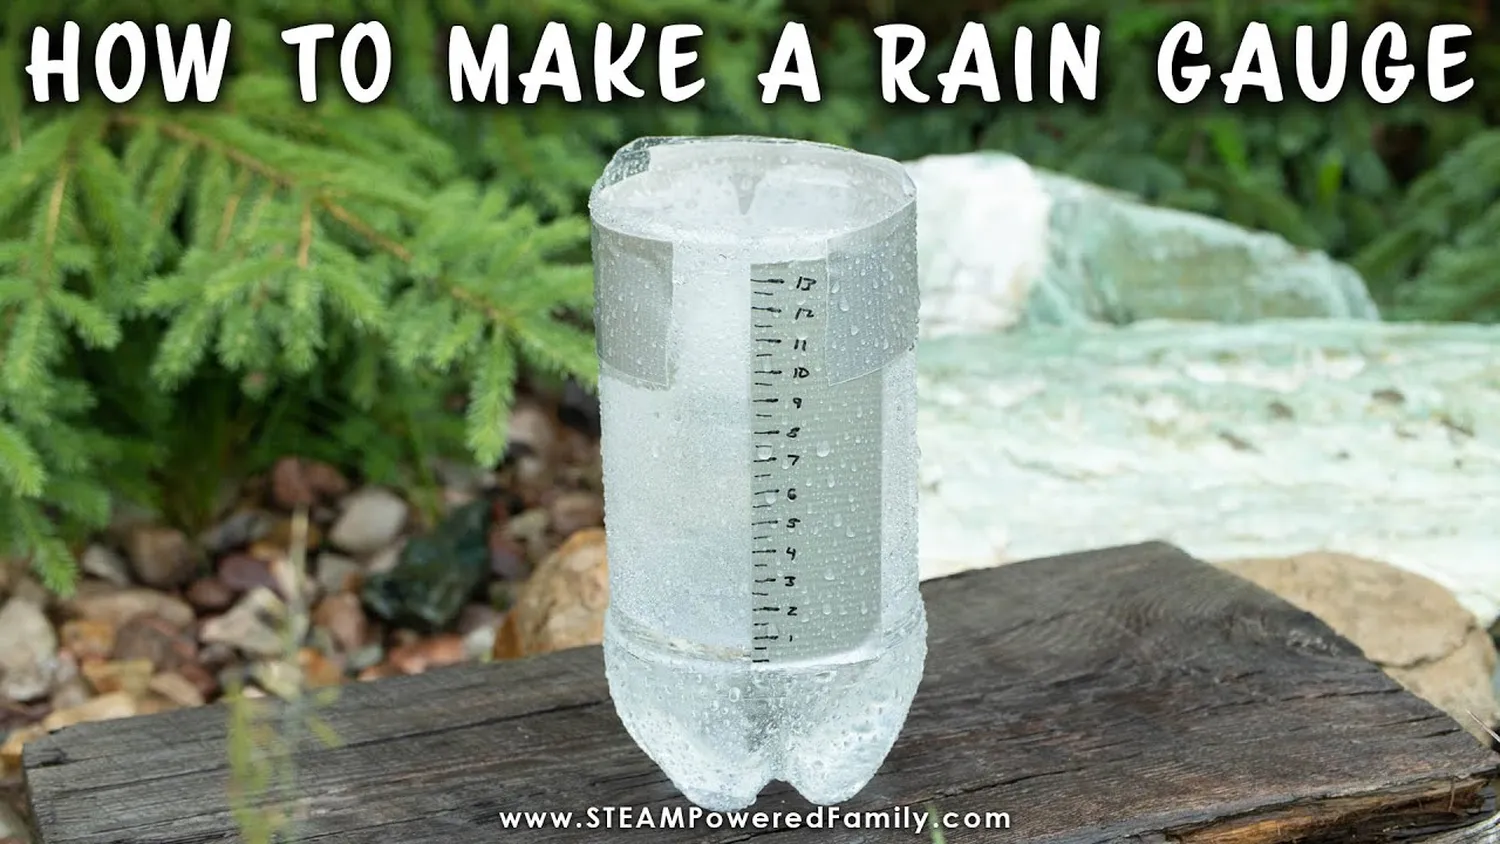
Learning how to make a DIY rain gauge for school projects is one of the most practical and exciting ways for students to explore hands-on meteorology. A rain gauge is a specialized weather instrument used by scientists to measure liquid precipitation over a set period. By constructing your own working model out of simple household items, you can track daily weather patterns right from your school yard or back porch.
Building this tool helps students grasp real-world concepts like data gathering, earth science tracking, and fluid measurement. This guide covers everything needed to build, calibrate, and set up a highly reliable, cost-efficient meteorological model.
Required Tools and Materials
Before assembling your weather station, collect all necessary components. Using recycled plastic items keeps costs at absolute zero while teaching students about resource sustainability.
- Plastic Bottle: A clear, straight-sided 2-liter soda bottle works best. Avoid heavily contoured or green-tinted bottles as they make reading measurements difficult.
- Ballast Material: Small clean river stones, pebbles, or heavy marbles to prevent the wind from toppling your gauge over.
- Measuring Scale: A metric ruler, clear waterproof tape, and a fine-tipped permanent marker.
- Assembly Tools: Sturdy kitchen scissors or a utility knife (adult supervision is strongly advised for this part), and heavy-duty duct tape.
Step-by-Step Construction Guide
Follow these quick operational steps carefully to maintain physical scale accuracy during the science build:
- Section the Bottle: Measure approximately 4 to 5 inches down from the cap line. Carefully slice completely around the body using scissors to remove the funnel-shaped top section cleanly.
- Create the Weighted Base: Because the bottom of a typical soda bottle has irregular, bumpy molded feet, drop your pebbles inside to fill those bottom crevices. Pour fresh water into the base until it just covers the tops of the rocks completely. This top surface creates your flat starting baseline.
- Apply the Measurement Tape: Run a strip of clear tape vertically down the outside wall of the bottle. Place your marker exactly aligned with the top line of the baseline water layer and mark this as 0 mm. Use a ruler to trace up the tape, marking ticks at every 1-millimeter or 5-millimeter interval.
- Position the Collecting Funnel: Take the top plastic cone you sliced off earlier, flip it directly upside down, and nest it inside the lower cylinder body like a funnel. This shape funnels down drops cleanly while drastically limiting errors from evaporation. Secure the outer edges tightly with waterproof tape.
Ideal Rain Gauge Calibration & Placement
Even a perfectly calibrated scale will yield highly flawed information if positioned incorrectly. According to official meteorological observation guidelines from the National Weather Service, monitoring tools must be installed away from active obstructions.
When you prepare to track data alongside your daily efforts to read a barometer to predict weather changes, follow the strict clearance rules below:
| Placement Factor | Proper Location | Areas to Avoid |
|---|---|---|
| Surrounding Clearance | Open lawns, school gardens | Directly beneath trees or fences |
| Structural Distance | Twice the distance of building height | Right next to walls or roof gutters |
| Ground Stability | Buried partially in soil or tied to posts | Unsecured on top of loose patio tables |
For a complete classroom weather unit, students can combine their rain tracking alongside projects that teach them how to measure wind speed without an anemometer or check local moisture levels by learning how to measure humidity levels inside your house.
Weather Data Analysis Matrix
To secure a top grade on your school presentation, do not just build the unit—track your data like a true professional scientist. Check the collection container daily at exactly the same time (e.g., 8:00 AM). Record your total millimeter values in an organized notebook block. After reading the numbers, empty the accumulated water back down to your established zero line for the next run.
If severe storms roll through your area, tracking these data blocks helps students actively predict rain by looking at cloud formations and visualize precipitation maps over an extended timeframe.
Frequently Asked Questions
Why do we add water to the base before starting our daily project measurements?
The bottom of a standard soda bottle features uneven plastic segments. Adding stones and filling them with water up to a uniform line levels out the uneven space, giving you an accurate zero starting baseline point.
What prevents the collected water from evaporating on hot afternoons?
Inverting the top neck part of your bottle into a funnel creates a narrow down-tube. This shape successfully shields the captured collection pool from dry breezes and direct sunlight, cutting evaporation loss down to zero.
Conclusion
Learning how to make a DIY rain gauge for school projects provides students with an invaluable window into atmospheric science. Using simple, budget-friendly materials, this activity transforms basic engineering lessons into a functional, highly visual science presentation that can easily compete for top rankings at your school's annual STEM exhibition.