





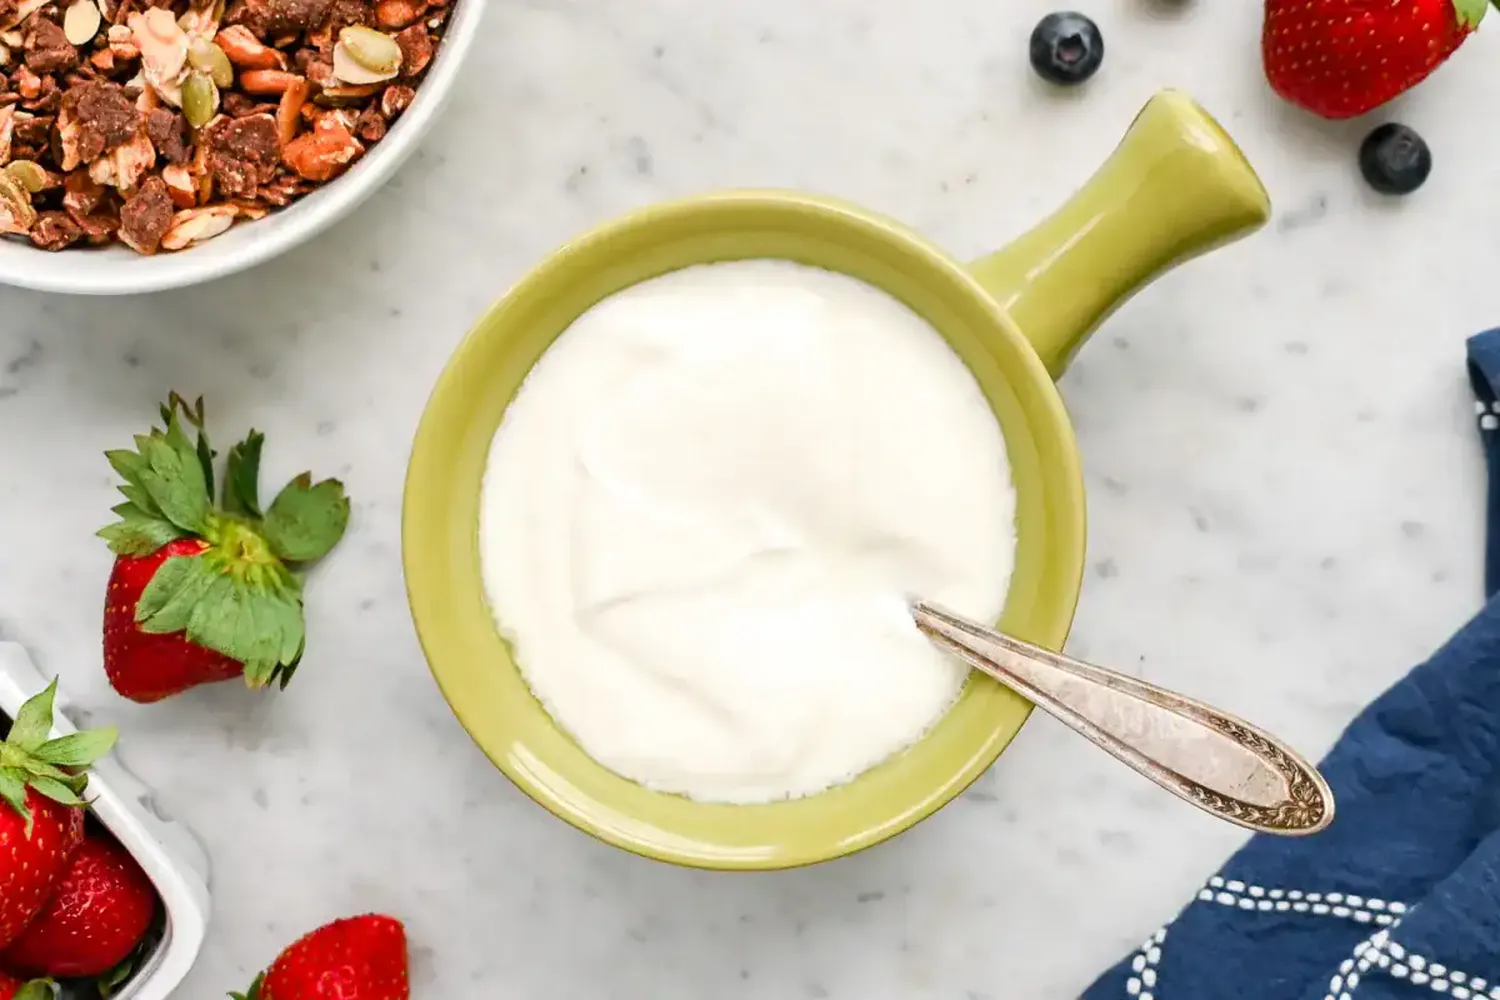
Learning how to make homemade yogurt without a yogurt maker is a game-changer for anyone looking to eat healthier while saving money. You don't need expensive gadgets to achieve that perfect, creamy consistency. By using basic physics and kitchen staples, you can turn a simple gallon of milk into a probiotic powerhouse. This guide breaks down the science and the steps to ensure your first batch is a success.
Essential Ingredients and Equipment
The beauty of this method lies in its simplicity. You only need two ingredients. However, the quality of these ingredients determines the final taste. For instance, just as experts evaluate sovereign debt sustainability by looking at core fiscal health, you must evaluate your milk's fat content for the best texture.
| Ingredient/Tool | Specification |
|---|---|
| Milk | Full cream/Whole milk (1 Gallon) |
| Starter Culture | 3 tbsp Plain Yogurt (Live cultures) |
| Thermometer | Digital or Instant-read |
| Pot | Stainless steel or heavy-bottom |
The Step-by-Step Process
- Scalding: Heat the milk to 180°F (82°C). This kills competing bacteria and alters the milk proteins to create a better set.
- Cooling: Let the milk cool down to 110°F (43°C). This is the "safe zone" where the yogurt bacteria thrive without being scorched.
- Inoculation: Whisk your starter yogurt with a cup of the warm milk, then stir it back into the main pot.
- Incubation: This is where the magic happens over 6 to 12 hours.
DIY Incubation Techniques (No Machine Needed)
Without a machine, you need to maintain a steady temperature of roughly 100°F–110°F. In the same way that communities participate in digital civic activism to keep a movement alive, you must keep these bacteria warm to keep them active.
- The Oven Method: Place the pot in the oven with only the oven light turned on. The light bulb provides just enough heat.
- The Cooler Method: Put your jars in an insulated cooler and fill it halfway with warm water (115°F).
- The Thermos: Pour the mixture into a high-quality vacuum flask and leave it overnight.
Tips for Extra Thick (Greek-Style) Yogurt
If you prefer thick yogurt, you must strain the whey. After the yogurt has set in the fridge for 4 hours, pour it into a colander lined with cheesecloth. Let it drain for another 2 hours. This requires monitoring, much like how one might monitor local government budget transparency to ensure results meet expectations.
Common Success Metrics
Based on kitchen data, here is what to expect from your DIY batch:
- Yield: 1 Gallon of milk produces approx. 14-16 cups of yogurt.
- Shelf Life: 2 weeks in a sealed container in the fridge.
- Cost Savings: Up to 60% cheaper than premium store brands.
Frequently Asked Questions
Can I use low-fat milk? Yes, but the yogurt will be thinner. Consider adding 1/2 cup of milk powder to boost thickness.
What if my yogurt is runny? It likely didn't stay warm enough. Next time, try the "Heavy Blanket Wrap" method alongside your cooler.
Final Thoughts
Mastering how to make homemade yogurt without a yogurt maker gives you total control over your ingredients. No more hidden sugars or stabilizers—just pure, healthy yogurt. As global markets shift, learning to navigate post-election trade regulations might change the price of imported dairy, making these DIY skills even more valuable for your household economy.